Available On: All Plans
Tracking pixels allow you to measure conversions, retarget visitors, and optimize ad performance across platforms like Facebook and TikTok.
hoo.be lets you add pixels directly to your profile so all traffic is tracked automatically.
Supported Pixels
Facebook Pixel
TikTok Pixel
How to Add a Pixel
To add or manage pixels on your hoo.be profile:
Go to Account
Select Page Settings
Click Facebook Pixel or TikTok Pixel
Enter your Pixel ID
You can use the link provided in the settings to find your Pixel ID in the platform’s events manager
Click Save
Once saved, tracking will automatically apply to your active hoo.be page.
Finding Your Pixel ID
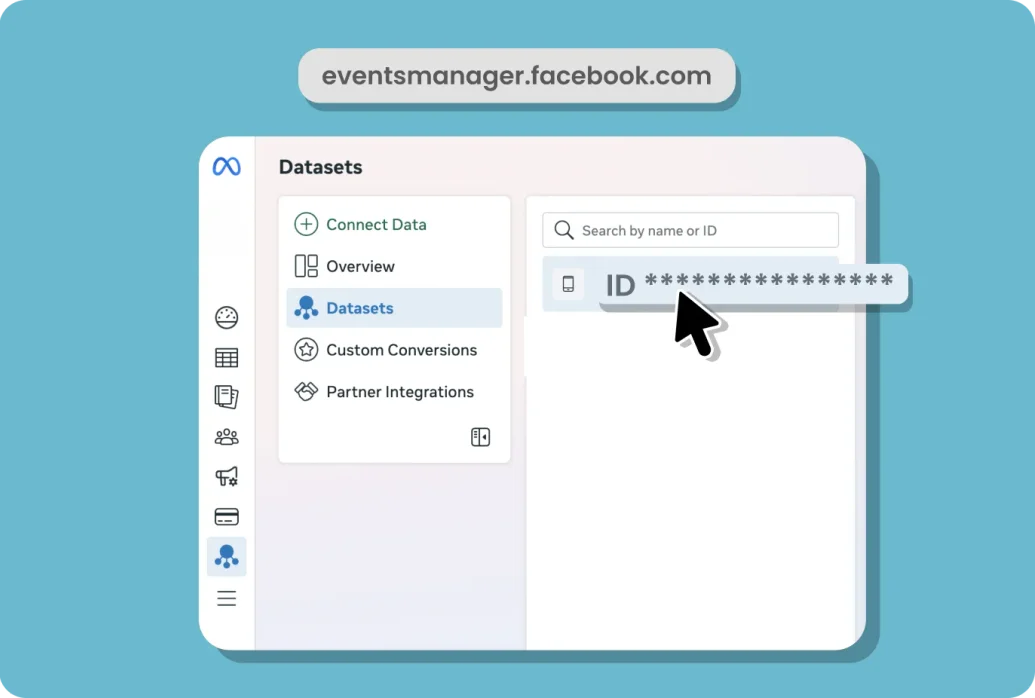
Facebook Pixel - Find your Pixel ID in Meta Events Manager. It is typically a 15–16 digit number.
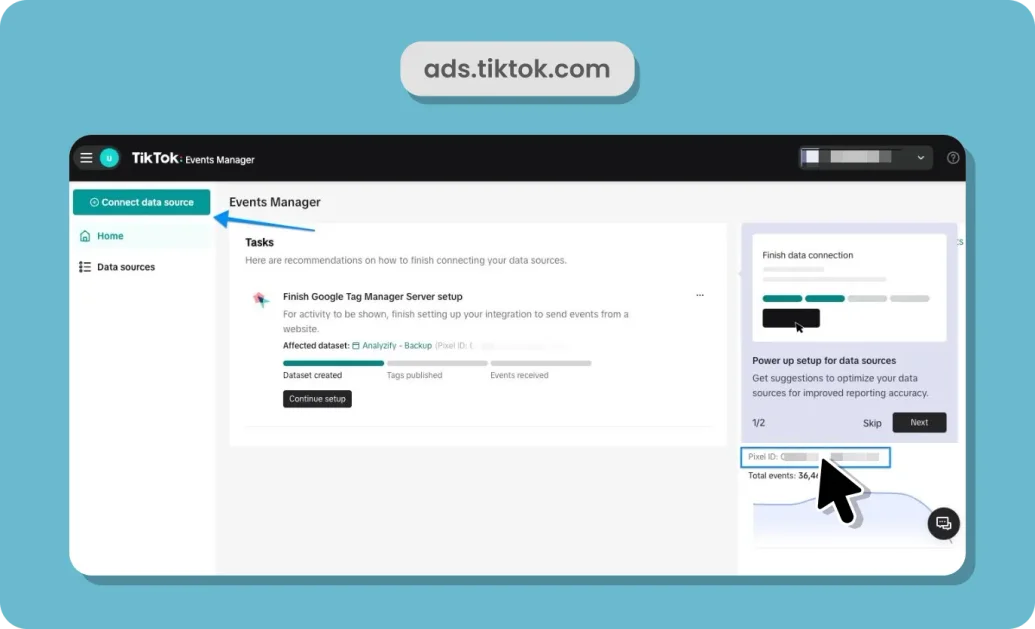
TikTok Pixel - Find your Pixel ID in TikTok Events Manager under your ad account.
Direct links to each platform’s manager are provided in hoo.be to make this easy.
Updating or Removing a Pixel
To update a pixel, replace the existing Pixel ID and click Save
To remove tracking, clear or delete the Pixel ID and save your changes
Changes take effect immediately after saving.
Why Use Pixels?
Track conversions from your hoo.be profile
Retarget visitors with ads
Measure campaign performance more accurately
Optimize spend across paid social platforms
If you have questions about pixel setup or need help troubleshooting, reach out to support anytime.